Laminate flooring is a cost-effective way to upgrade any room in your home, with the added bonus of easy maintenance. Unlike most other flooring materials, laminate can be installed right over existing floors with little or no preparation. However, there are some important factors to consider before you start your laminate flooring installation project. These include labor costs, material costs, and other variables that can affect the final price of your new floor. In addition, if you are installing your laminate flooring yourself rather than hiring a professional installer, you can save money by taking some preventative measures.
First, make sure you have the right tools for the job. Many dealers offer laminate flooring kits that contain a basic set of hand and power tools for installation. Also, make sure you have enough time to complete the project. The process can be messy, and you will need to move furniture out of the installation area and remove baseboards and quarter rounds if they aren’t already removed.
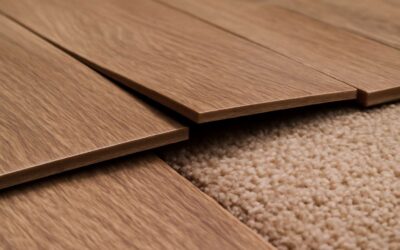
Next, plan your layout before you begin installation. It is best to stagger the planks, especially if you are working in a small room. This can help keep the seams from lining up and creating a look that is too “matchy-matchy.” It’s also a good idea to lay out all the available pieces of laminate before you start installation, so you can get a better sense of how they will look together.
You’ll also want to plan for the amount of laminate you’ll need by measuring the width of your room or perpendicular wall and dividing it by the width of a single laminate plank. This will give you a fairly accurate number of rows you’ll need to install, but don’t forget to leave room for expansion (about 3/8 inch).
If the rooms in your home have a lot of natural light, consider orienting the planks so they face south. This will prevent the sun from heating the room and potentially cause discoloration over time.
Finally, if you are installing laminate in a room with existing trim around doorways and other edges, cut the trim to fit the new laminate floor so that it makes a smooth transition from old to new. This is much easier than trying to match the trim afterward.
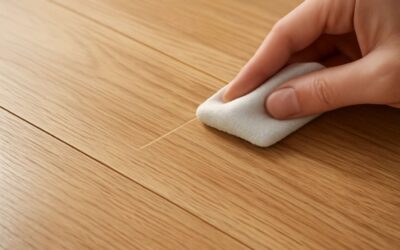
Before you begin your laminate flooring installation, it’s a good idea to test the moisture levels in your floor’s sub-floor. Moisture is the biggest enemy of a perfect laminate installation, and it can create bumps or even cause the planks to break. A simple moisture test using a hygrometer can help ensure that your floor is dry before starting.
The most common mistake people make during a DIY laminate flooring installation is forgetting to leave an expansion gap. This can lead to the planks warping and cracking over time, so it’s a good idea to leave at least a 3/8-inch space between each plank of flooring. Another common mistake is not taping down the underlayment, which can create lumps that are hard to fix once the laminate has been laid.


0 Comments